REVIEW · BARCELONA
Elevate Your Photography – Barcelona Private Tour & Workshop
Book on Viator →Operated by Barcelona Photo Experience · Bookable on Viator
Great photos start with control.
This private, 2-hour workshop in Barcelona turns the city into a live classroom: you get hands-on feedback on phone or camera settings, plus practical composition tips while you learn how locals live among markets, squares, and Gothic streets. I especially like the way the guide connects photography choices to what you actually see in front of you, from natural light to indoor stall lighting. You’ll also get historical context for your background stories, not just a checklist of places. One thing to consider: the pace is focused and time is short, so you’ll want to show up ready to shoot and tweak settings right away.
You’ll also finish with a plan that makes your own sightseeing photos easier.
The route moves through several big photo zones—Boqueria, MACBA, the Gothic Quarter, Plaça Reial, Pont del Bisbe, Sant Felip Neri, the Cathedral area, and El Born—so you can practice a lot of lighting situations in one session. Many participants specifically mention manual shooting confidence and street-photo guidance, and that’s exactly where this tour feels most valuable: it’s not just pretty views, it’s decision-making. A possible drawback for some people: if you mainly want museum time or slow wandering, this format is built for street photography and quick learning moments.
In This Review
- Key highlights you can act on right away
- What You Learn on This Private Photo Workshop (Phone or Camera)
- The Route: Why This Barcelona Walk Makes Your Photos Better
- Boqueria Market: Color, Contrast, and Indoor Lighting Control
- MACBA Front Area to the Gothic Quarter: From Street Action to Stone Geometry
- Plaça Reial, Pont del Bisbe, and Sant Felip Neri: When Squares Teach Composition
- Barcelona Cathedral Area: Gothic Facades and Spires Without the Guesswork
- El Born: Longer Time for Neighborhood Lanes and Real-World Details
- Price, Value, and Who This Tour Fits Best
- Should You Book This Barcelona Photography Workshop?
- FAQ
- FAQ
- How long is the Elevate Your Photography tour in Barcelona?
- Is this tour private or shared?
- What language is the workshop offered in?
- Where do we meet, and where does the tour end?
- Does this workshop work for both phone cameras and traditional cameras?
- Are there any admission costs at the stops?
- Is a mobile ticket used for this experience?
- Can I get a full refund if I cancel?
Key highlights you can act on right away

- Coaching from minute one: immediate feedback on your settings and how to frame shots.
- Phone and camera support: you’ll learn the same ideas whether you shoot on a phone or a traditional camera.
- Light control practice: you’ll work with both indoor and natural light (Boqueria is a great training ground).
- Gothic Quarter photo “geometry”: arches, bridges, and facades that reward careful angles.
- Street photography tips: guidance for photographing people without freezing up.
- End in the cathedral area, then El Born: you get a strong old-city run with an extra neighborhood feel.
What You Learn on This Private Photo Workshop (Phone or Camera)
The core of this experience is simple: you bring your device, and the guide helps you use it on purpose. From the start, you get personal feedback aimed at the settings that matter most, so you’re not stuck with guesswork while the light changes. It’s a workshop run by a photojournalist, and that background shows in the focus: real-world scenes, real timing, real constraints—like a market full of colors or a square with people moving through frame.
Here’s what you’re likely to improve fast.
Manual mode confidence (or the phone equivalent).
Even if you’ve mostly used auto, you’ll get pushed toward making choices. The point isn’t punishment for auto; it’s control. Once you understand things like exposure and focus behavior, you can react instead of waiting for the camera to “decide” for you. If you already shoot in manual sometimes, you’ll still benefit because you’ll get feedback tailored to what you’re actually photographing in Barcelona.
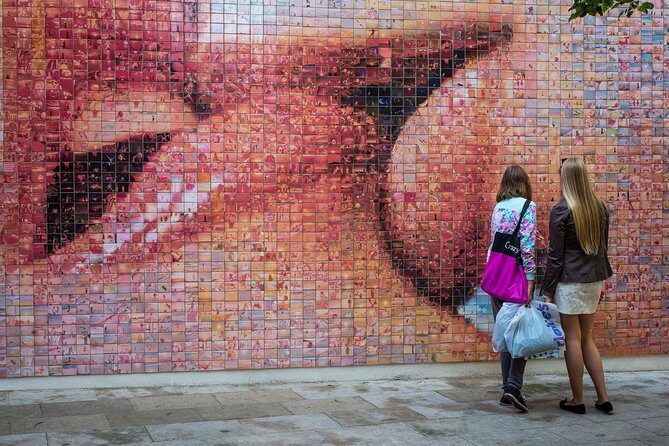
Composition that looks intentional, not accidental.
You’ll practice how to frame architecture and street scenes so your photos don’t feel like snapshots. Think about lines, edges, and how people enter and leave the shot. Several photo moments on this route are perfect for this kind of framing: bridges, cathedral spires, and narrow lanes in the Gothic Quarter all reward angle and positioning.
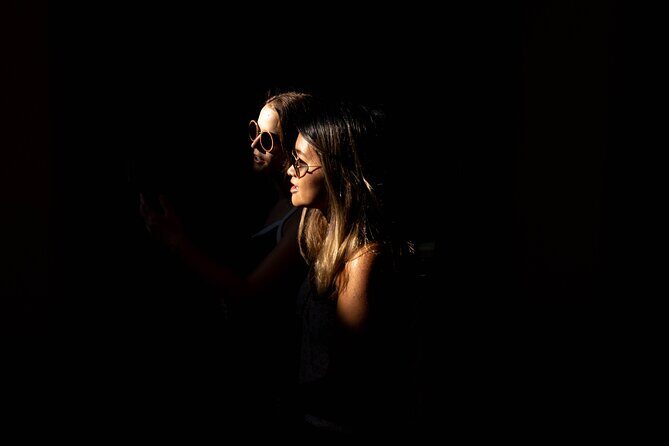
Light reading in the real world.
Barcelona gives you plenty of lighting problems and opportunities. You’ll train your eye to recognize where the light is coming from, how shadows behave on stone, and how interior lighting changes color and contrast. Boqueria is especially useful for this kind of practice because it mixes bright storefront spill light with darker indoor stalls.
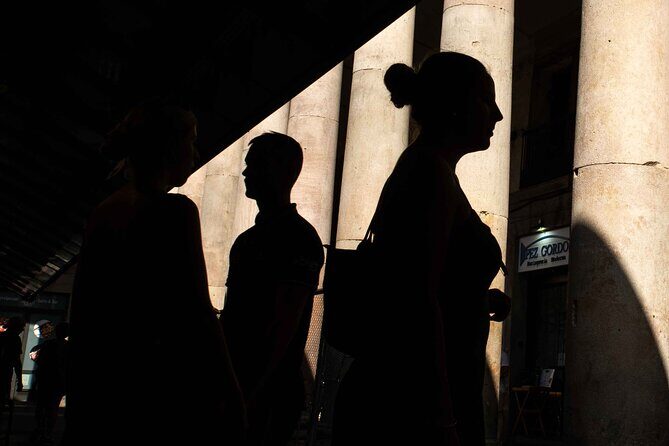
Street portraits without the panic.
If street photography intimidates you, you’ll appreciate the practical guidance. You’ll get tips for photographing people on the street in a way that feels natural. The goal is not creepiness or chaos. The goal is a calm approach, good timing, and composition that respects the scene.
If you want one reason this tour feels worth it, it’s that the teaching is tied directly to what you’re seeing, not separated into a lecture.
You can also read our reviews of more private tours in Barcelona


The Route: Why This Barcelona Walk Makes Your Photos Better
This isn’t a random checklist walk. The route is designed so you can practice different “photo problems” back-to-back in a tight 2-hour window. That matters because your learning sticks when you see the pattern quickly: market light, museum-adjacent street energy, Gothic stone textures, then squares and bridges that create strong shapes.
You meet at Pl. de Catalunya (Eixample), then the walk steadily moves you toward the old city atmosphere. The session ends around the Barcelona Cathedral area in the Gothic neighborhood, close to Plaça Catalunya. The operator also notes the route includes additional spots along the way, so you’re not locked into only the listed stops.
Why that route logic is valuable:
- You see contrasting light sources fast. Your eye learns what to expect rather than starting from scratch each time you lift your camera.
- You get practice with depth and texture. Narrow streets plus large facades help you learn how to handle foreground, midground, and background.
- You learn to compose while moving. You won’t have time for “stand here forever” photography. You’ll learn how to spot the shot, try quickly, then move on.
One more practical point: this is a private experience, so you can ask questions and get feedback that fits your level. That can be a big deal if you’re the type who wants your camera settings explained in a way that actually matches how you shoot.
Boqueria Market: Color, Contrast, and Indoor Lighting Control
La Boqueria is one of the best places in Barcelona to learn lighting in a hurry. The market is known as the city’s oldest market, and it’s packed with fresh produce and artisanal goods—perfect for color practice. But what makes it ideal for a photo workshop is the lighting challenge: you get a mix of brighter spill light, shaded areas, and indoor tones that can trick your exposure.
In your time here, you’ll focus on how to see light and control it. That means you’ll likely spend less time thinking about “what should I photograph?” and more time thinking about:
- How bright highlights behave when they’re surrounded by darker stalls.
- How shadows change contrast on faces and fruit textures.
- How your camera or phone handles mixed lighting when there’s no single perfect light source.
This is also a strong stop for planning compositions. Markets have strong repeating patterns—rows of stalls, hanging items, and lines that naturally pull your eye forward. You can use those patterns to create strong frames without needing a long lens or fancy gear.
Potential drawback: if you’re extremely sensitive to noise and crowd movement, a market stop can feel energetic. The good news is that the time here is structured, so you’re not stuck lingering. You’ll get short practice bursts instead of wandering with no direction.
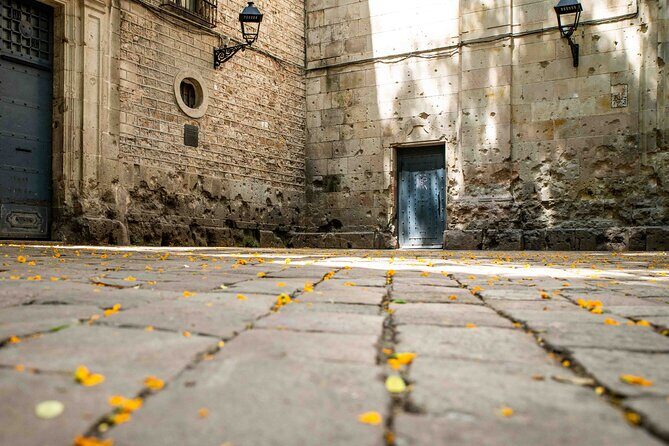
MACBA Front Area to the Gothic Quarter: From Street Action to Stone Geometry
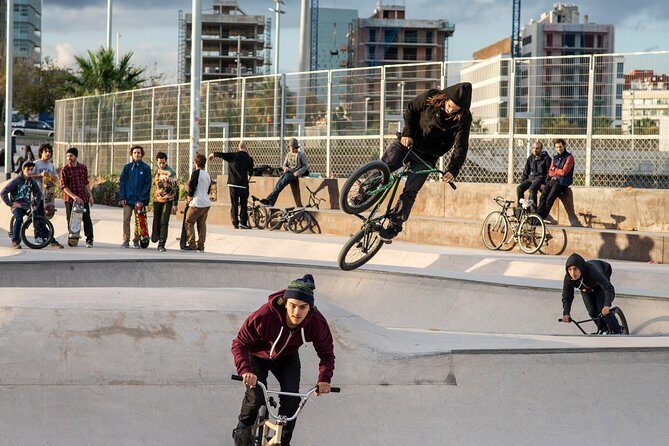
After Boqueria, you shift toward MACBA (Museu d’Art Contemporani de Barcelona), where the area in front of the museum often has a steady flow of people—skateboarders and artists show up in the scene. This is a useful training moment because it’s both social and unpredictable. Your photos improve when you practice timing: catching motion, isolating subjects, and composing quickly when people are moving through the frame.
Then you move into the Gothic Quarter, which goes all the way back to Roman times. This is where the workshop turns from “street energy” into “stone geometry.” Gothic streets give you textures that look great in photos, but only if you choose your angle and manage contrast. Narrow lanes and old walls often create deep shadows and strong highlights—exactly the kind of lighting conditions where a small setting change can help.
In the Gothic Quarter, you’ll get lots of chances to work on:
- Angles and perspective: finding lines that lead the eye.
- Shadow detail: keeping textures visible instead of turning them into pure black.
- Layering: using foreground elements (doorways, corners, arches) to add depth.
If you’ve been frustrated that your photos of old streets look flat, this part of the tour is one of the best remedies. The guide’s feedback helps you see what your camera is actually capturing versus what you were imagining.
Plaça Reial, Pont del Bisbe, and Sant Felip Neri: When Squares Teach Composition
From the Gothic Quarter core, you continue through several standout photo zones that each teach a different composition skill.
Plaça Reial is a major payoff square just off La Rambla. It has neoclassical architecture and a lively atmosphere, which makes it great for shooting both the buildings and the people moving through. Squares like this are ideal for practicing framing: wide shots show architectural identity, while tighter shots let you focus on details like columns, archways, and rhythmic patterns.
Pont del Bisbe is one of those Barcelona bridges that looks good from multiple angles. It’s Gothic in style and historically significant, and that combination means you can experiment with:
- upward angles to emphasize structure,
- side angles to show the bridge in relation to surrounding streets,
- and framing using railings and arches as natural borders.
Placa Sant Felip Neri (Sant Felip Neri Square) gives you a breather. It’s a quieter square in the Gothic Quarter with a baroque church and a darker, haunting story attached to it. Practically, that calm environment helps you slow down your shooting. You can concentrate on texture, small light shifts, and slower compositions that look less chaotic than street-corner scenes.
Potential drawback: you’ll be walking through multiple “must-shoot” places close together. If you try to photograph everything the same way, your results can flatten. Use the guide’s feedback to pick a style for each stop—wide for context at Plaça Reial, lines and angles for Pont del Bisbe, and texture for Sant Felip Neri.
You can also read our reviews of more photography tours in Barcelona


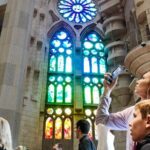
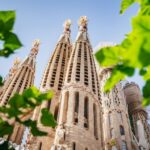
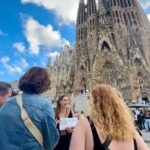
Barcelona Cathedral Area: Gothic Facades and Spires Without the Guesswork
The Barcelona Cathedral stop is a big one. The Cathedral is a Gothic masterpiece dating back to the 13th century, and that age shows in the detailed facade and the spires that rise above the streets. This is the point where many people switch from casual sightseeing photos to more deliberate framing.
Why this matters:
- Cathedral architecture punishes “random shooting.” If your angle is off, the facade can look compressed or messy.
- High-detail stone also challenges exposure. Highlights can blow out, and shadows can swallow texture if you’re not paying attention.
This is where the workshop’s earlier lighting and settings practice pays off. If you’ve learned how to react to lighting changes, you can keep spire detail and facade texture. If you haven’t, this stop will quickly teach you what to adjust next.
Also, the route finishing here is practical. You’re placed right where you’ll likely want to continue exploring afterward. Finishing near the cathedral means you can keep shooting on your own with less transit time and fewer interruptions.
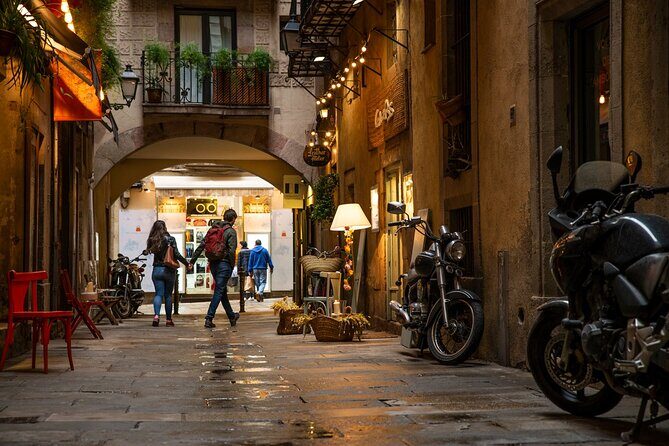
El Born: Longer Time for Neighborhood Lanes and Real-World Details
After the cathedral area, you shift toward El Born for a longer stretch of time. El Born is described as a trendy, vibrant neighborhood in the old city, with alleys that feel made for street photography. This part of the experience gives you space to practice without being rushed through constant landmark “photo stops.”
You’ll see remnants of the past around El Born, including:
- Santa Maria del Mar church,
- and mercat del Born, where you can find archaeological finds from the 1700s.
For photography, that mix is gold. You can shoot grand structure next to human-scale details, then switch to textures from market and archaeology-related spaces. The longer time here also means you can experiment. Instead of one quick shot and moving on, you can try:
- a wider frame for context,
- a tighter frame for texture,
- and a portrait-style composition if people appear in your scene.
If you’re the type who wants to end a tour with photos that look like they came from your own style, this is where that happens. The guide’s coaching helps you start the process, but El Born gives you breathing room to make it yours.
Price, Value, and Who This Tour Fits Best
At $107.40 per person for about 2 hours, the value is really about what’s included beyond sightseeing. You’re paying for private coaching that addresses your device and your settings, not just a walking route. Admission is marked as free for most stops, and your time at El Born is marked as included. That helps the math.
The private format matters too. In a group, you can get advice, but you can’t easily pause and get a setting tweak matched to what your camera is doing. Here, you’re set up for direct feedback and technique practice while you move through real scenes.
This workshop is a great match if:
- you want to improve fast without reading a manual in a hotel room,
- you want help using manual mode (or a more controlled approach) with real situations,
- you’re traveling solo, because a guided walking lesson keeps you from feeling awkward or lost,
- you’re a couple or group that wants a shared activity with clear structure and plenty of photo stops.
It may be less ideal if:
- you hate walking or you want a slow, museum-heavy day,
- you expect only famous landmarks and no practical photo instruction,
- you’re looking for a long sit-down coaching session instead of a street-based workflow.
Should You Book This Barcelona Photography Workshop?
I’d book it if you want your next Barcelona photos to look like you made decisions, not like the camera guessed. The combination of phone-and-camera coaching, strong lighting practice, and a route that forces you to apply technique right away is exactly what turns a good trip into better results.
Skip it if you want a relaxed, low-effort tour with minimal instruction. This one is hands-on. You’ll learn more if you’re willing to try settings and compose on the spot.
If you already shoot automatically and feel stuck, or you’ve tried manual and still feel unsure, this is the kind of training that gives you confidence fast. And if you’re picking the session before you do big sites later in your trip, the skills you build here can carry over immediately.
FAQ
FAQ
How long is the Elevate Your Photography tour in Barcelona?
It’s listed at about 2 hours.
Is this tour private or shared?
This is a private tour/activity, so only your group participates.
What language is the workshop offered in?
It’s offered in English.
Where do we meet, and where does the tour end?
You start at Pl. de Catalunya, 9, Eixample, 08002 Barcelona. The tour ends around the Barcelona Cathedral, at Pcta. de la Seu, s/n, Ciutat Vella, 08002 Barcelona.
Does this workshop work for both phone cameras and traditional cameras?
Yes. The workshop focuses on understanding your phone and your camera, with tips and technique for creating better photos.
Are there any admission costs at the stops?
Most stops are listed as admission ticket free, and the time at El Born is listed as admission ticket included.
Is a mobile ticket used for this experience?
Yes, it’s listed as mobile ticket.
Can I get a full refund if I cancel?
Free cancellation is available. You must cancel at least 24 hours before the experience starts for a full refund.